Studio Console Part 10
Already at Part 10, but my studio desk is getting more and more to the final result. So let’s see what has been done this week. First of all I got some new hardware for the racks, my second power switch panel arrived as well as a try out for the 19 inch rack lighting. Pictures of that will follow when I’m mounting everything together. I also had a quick drop by Ikea for some great looking mini table legs.
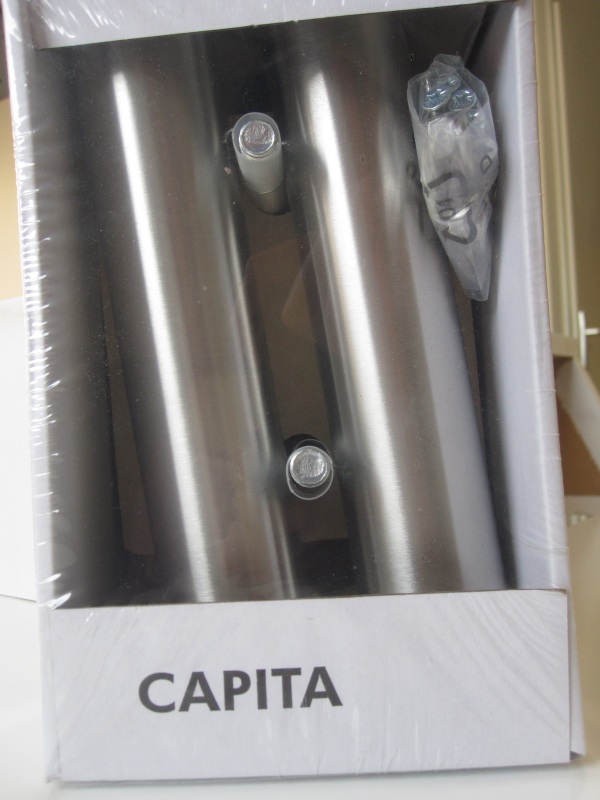
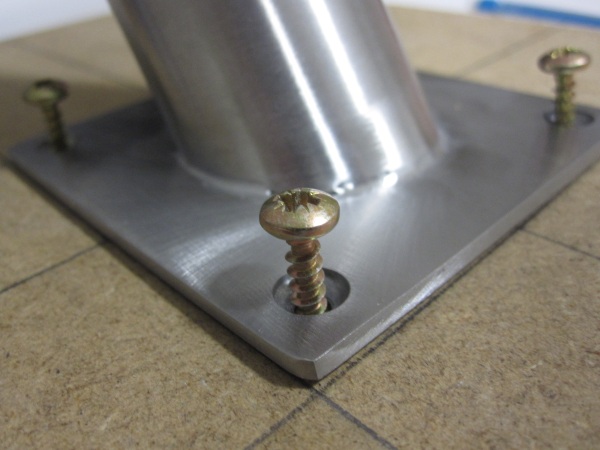
A while ago, I got inspired by a topic on DJ Resource where user Voltcontrol posted about the capita accessories. I’ve got myself a pair of these to help me get my monitor speakers at the right height while giving more space on the desk.

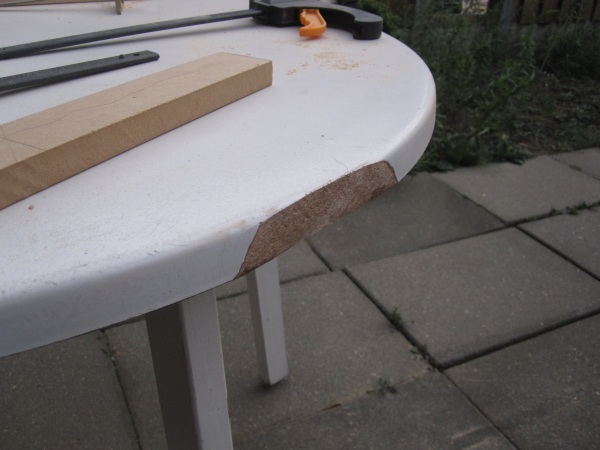
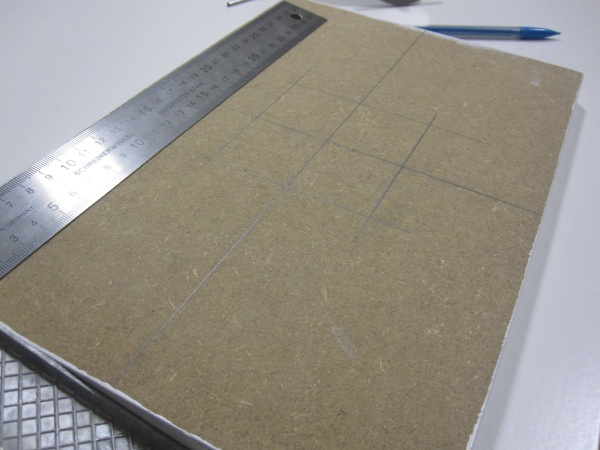
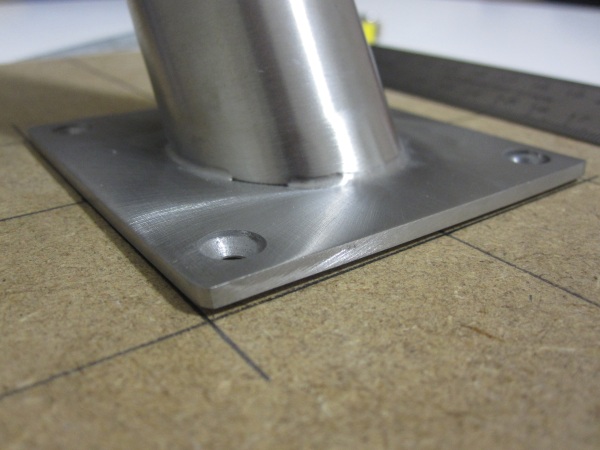
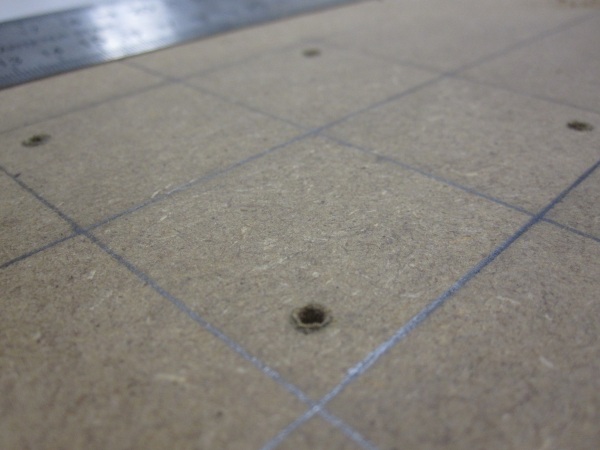
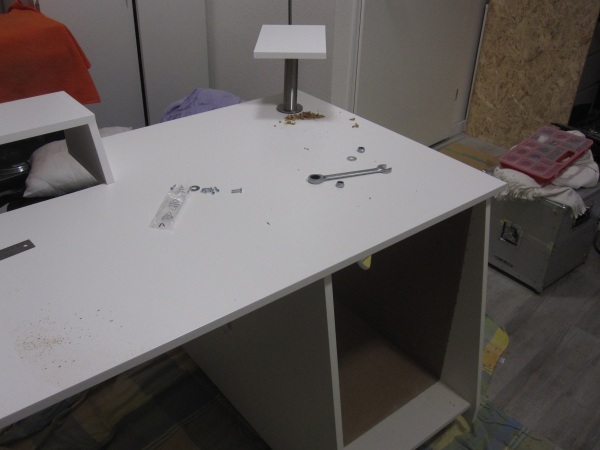
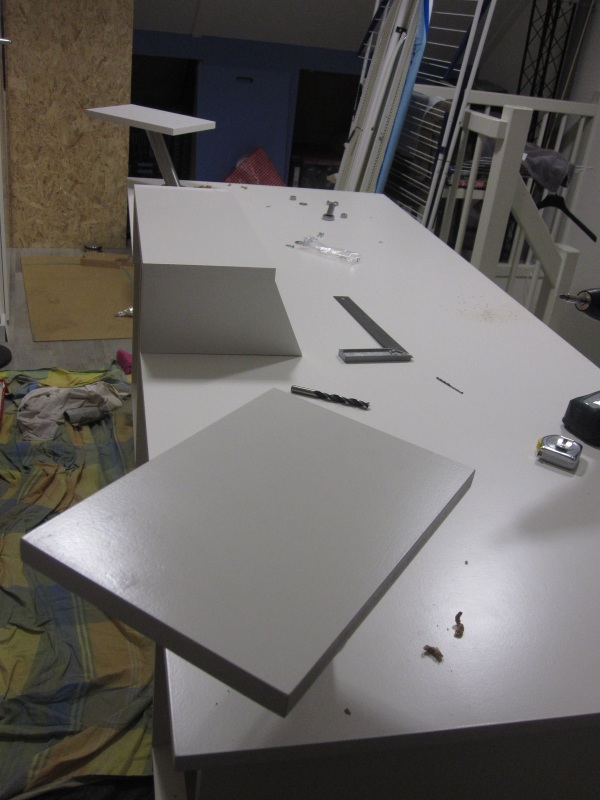
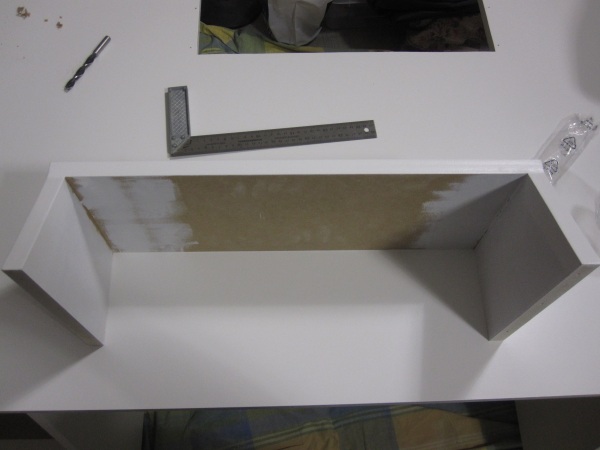
Since I don’t want to mount my speakers directly on the metal plate I needed two small planks for under my speakers. So I prepared everything in perfect, or so I thought…
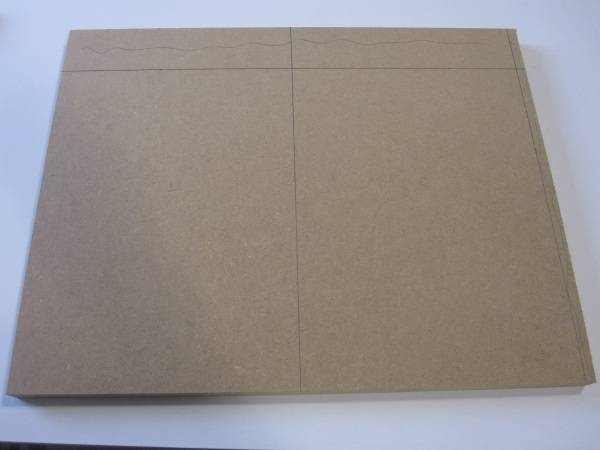
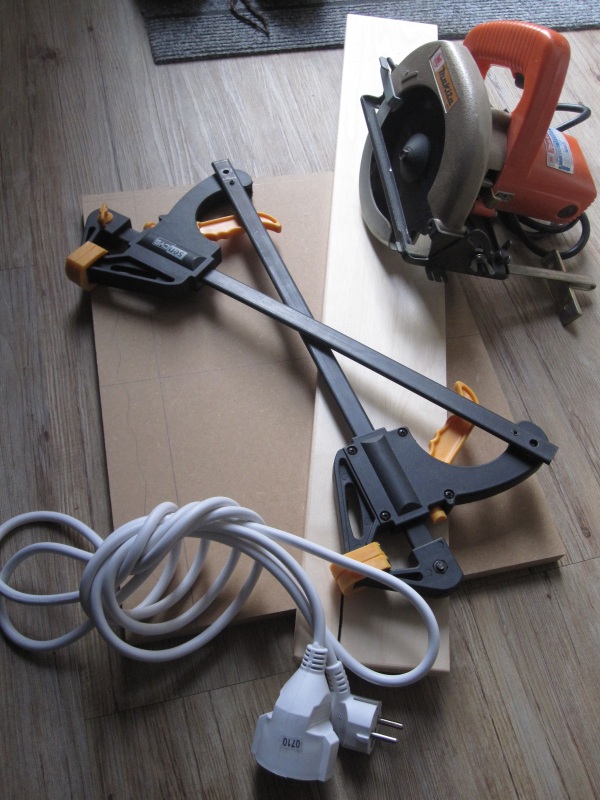
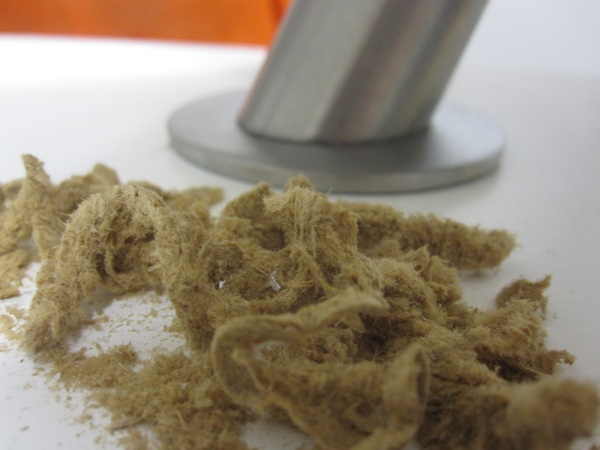
When you saw on the garden table, do make sure to keep enough distance from the borders:
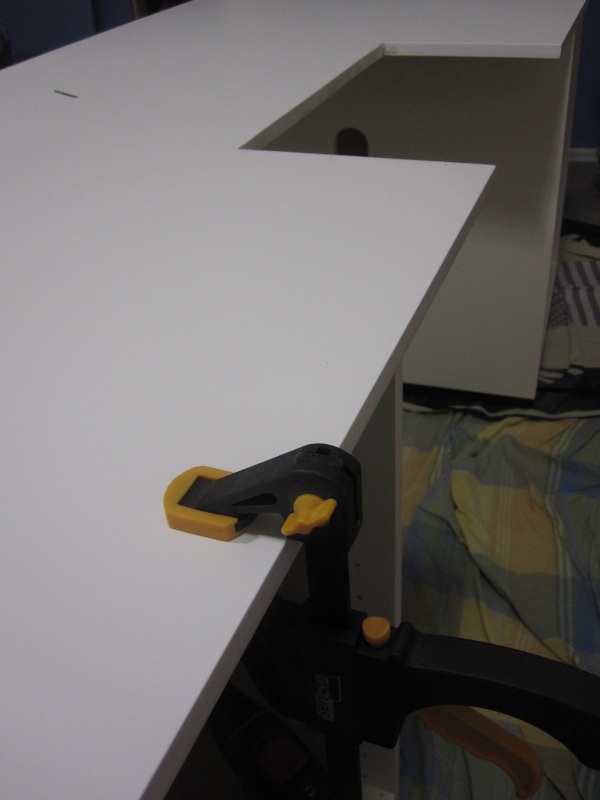
I’ve also attached the top of the desk to the 19 inch racks. So far it was just laying on top of it, but since I want to be able to move the desk as whole it needs to be mounted together. Took some time to align all components, but I got the job done.
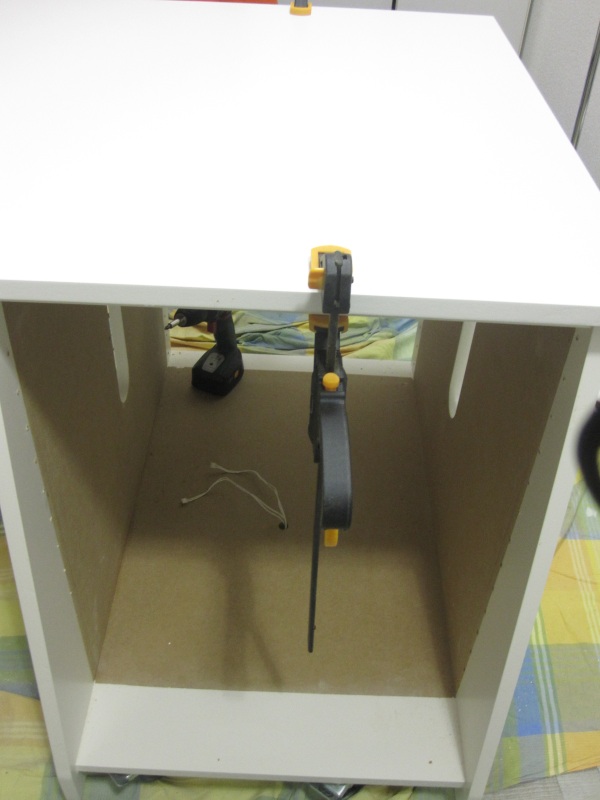
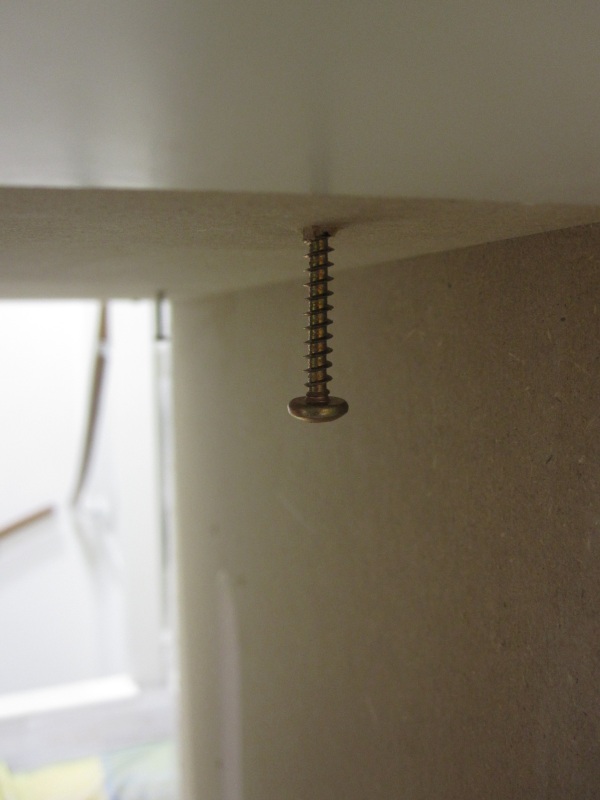
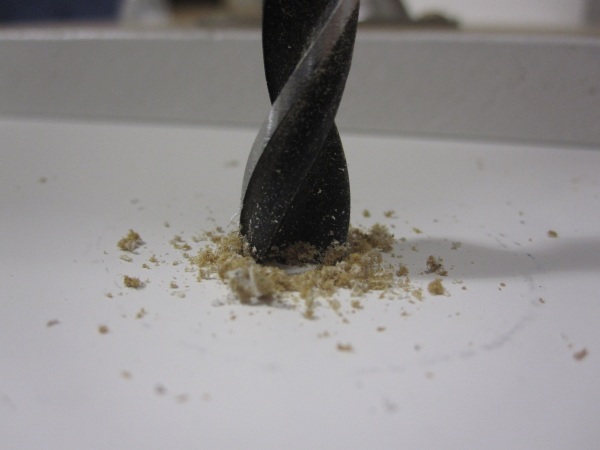
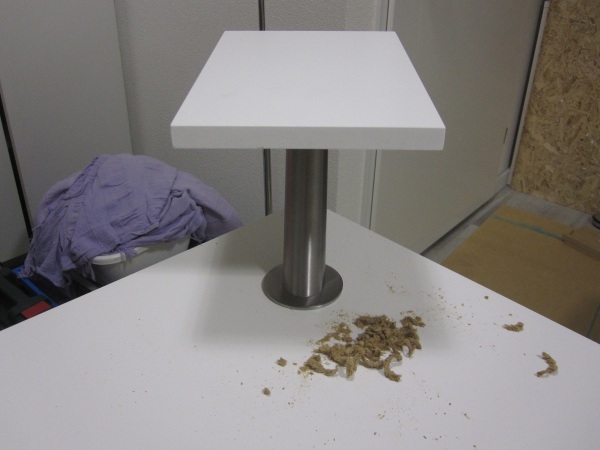
Back to the Ikea capita again. While I tried to figure out if my speakers had any weight balance point I got a little scared by there weight at all. Since I wasn’t sure the capita where going to support the weight. For the construction I needed to drill a hole in the top of the desk which was going to be a point of no return. So I made a quick test setup to check if the construction would be strong enough.
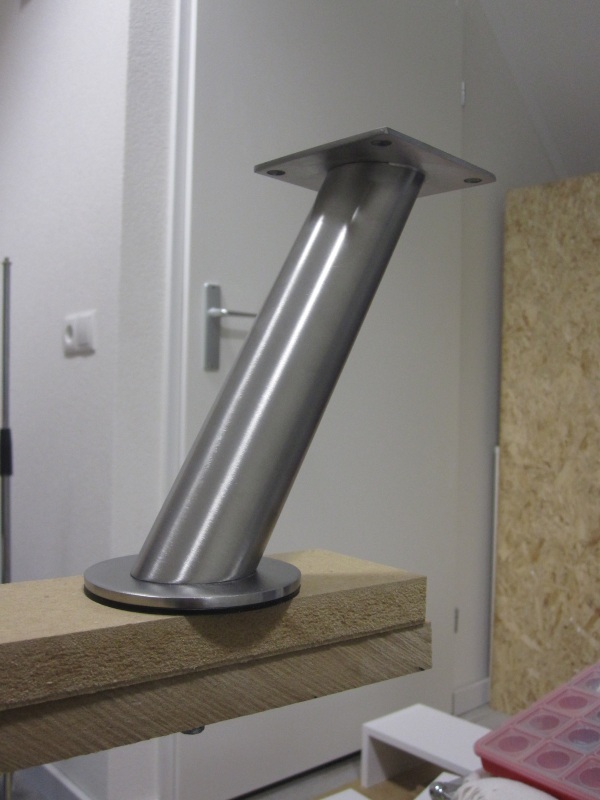
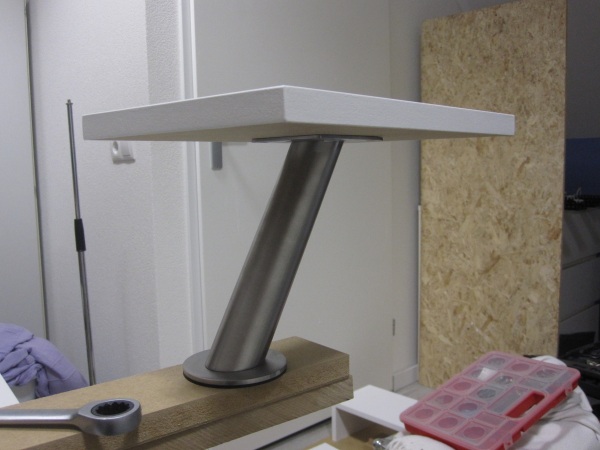
Luckily my worries where soon gone since the construction appeared to be strong enough. Time for the permanent setup.
I know that for a correct and good monitor setup you need to maintain an equal length triangle between the listening position and the speakers. Because the desk is 2 meters in width this means I need to have either a very deep desk, put the monitor speakers behind them or sit further away from the desk which is all not the case. However, it is also important to keep a minimum distance from the speakers to give the sound time to blend together while leaving the different speakers in the monitor. I think this is much more important since it has influence on the perception of the sound. While the equal triangle only influences the stereo image.
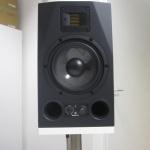
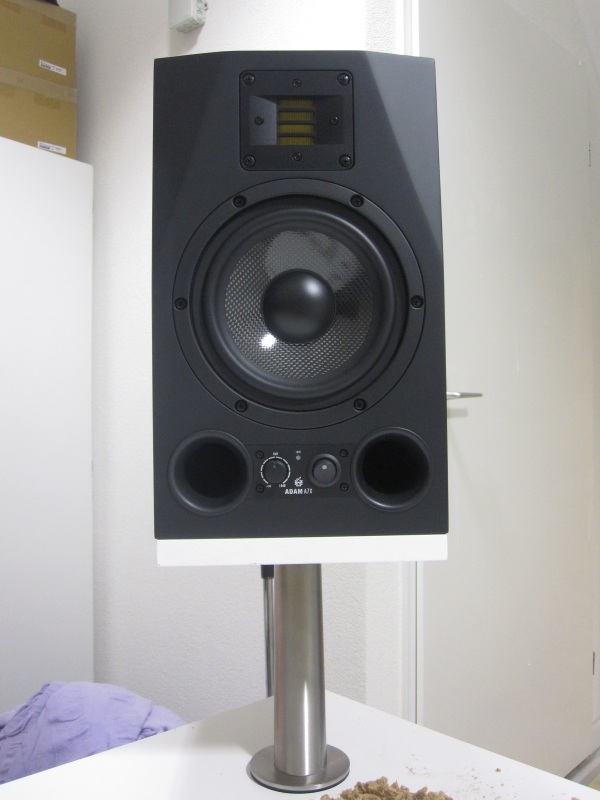
After all the work I was wondering how it would look with the ADAM on top of it.
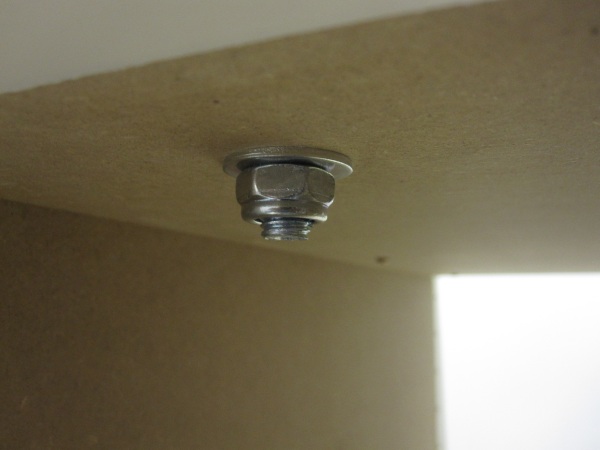
Left on the to-do list were the rack profiles for the 3 HE center console. Last week I already build the wooden construction.
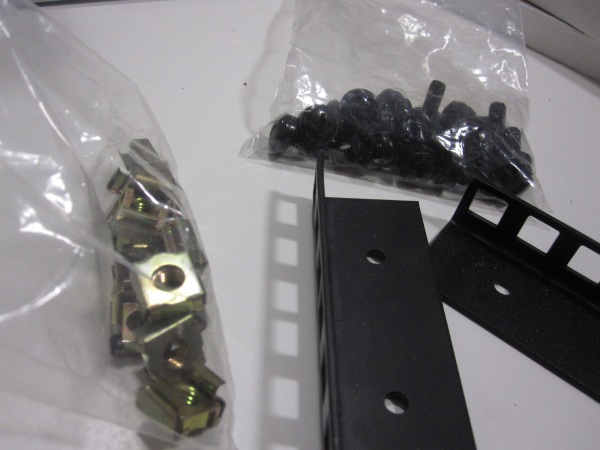
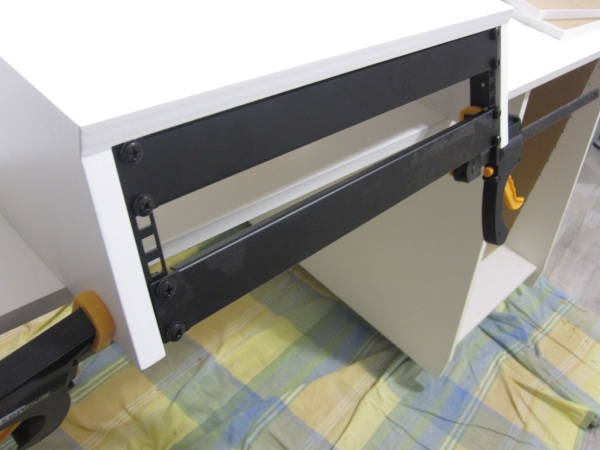
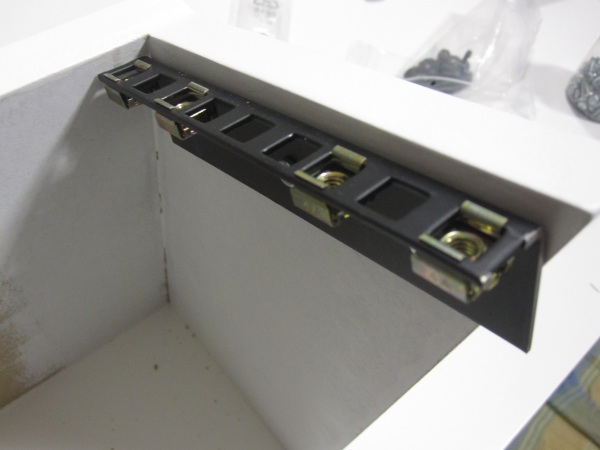
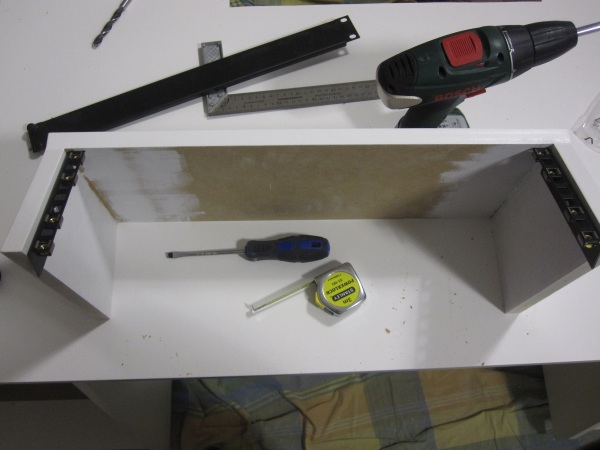
The center console is going to have a panel for passing the cables through, the led DB meter and one blind panel containing switches for the lights build into the desk.
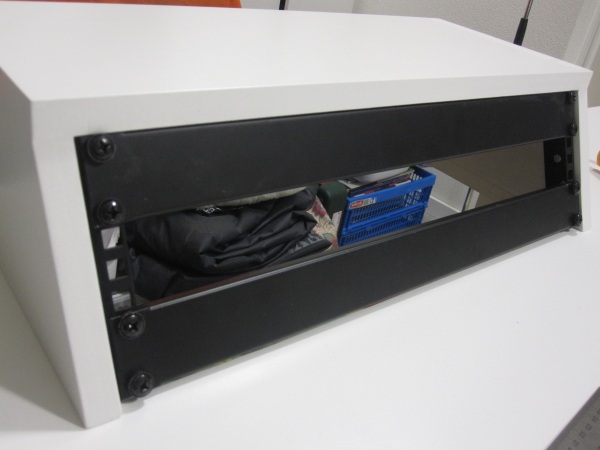
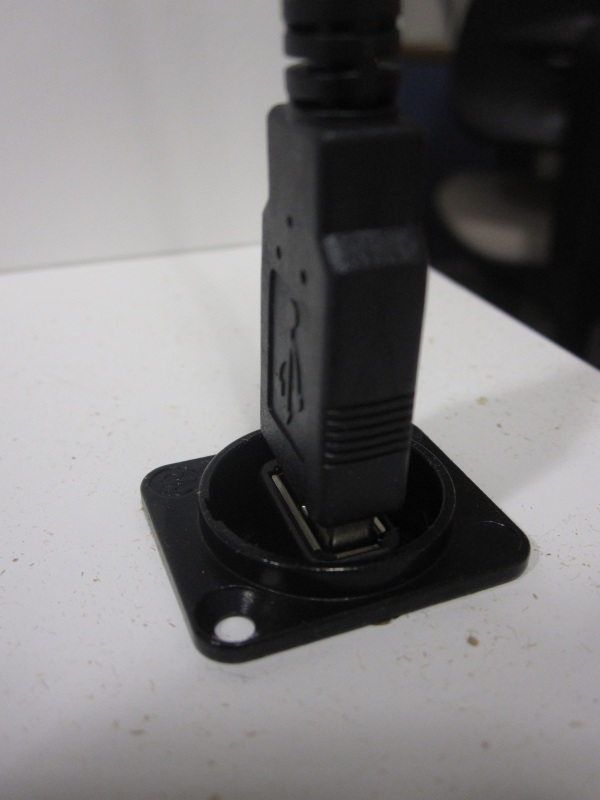
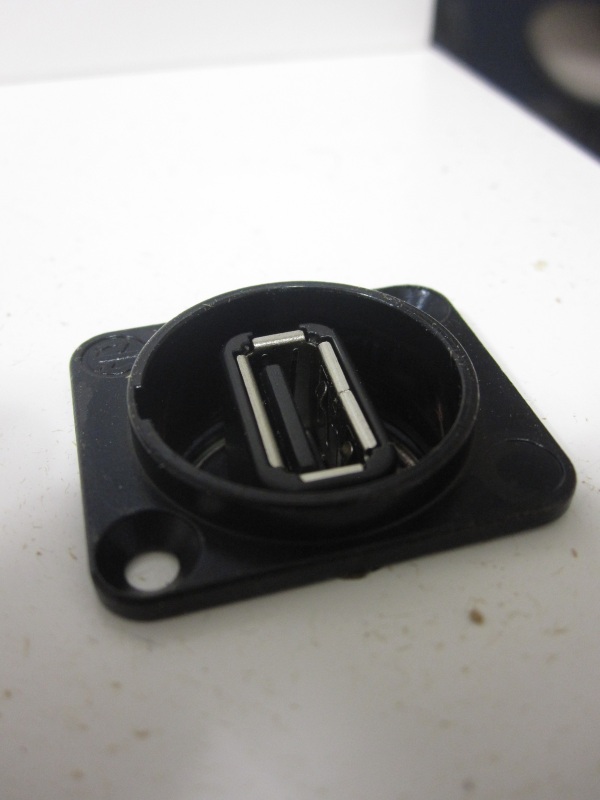
Some time ago I saw very cheap USB led lights with goose neck. So I bought around 10 of them, knowing these would come in handy one day. To use them I got myself Neutrik USB connectors D-size for in the top of the desk. Because I needed a hole of 23 mm and only had a 22 mm drill I decided to do a test setup again first.
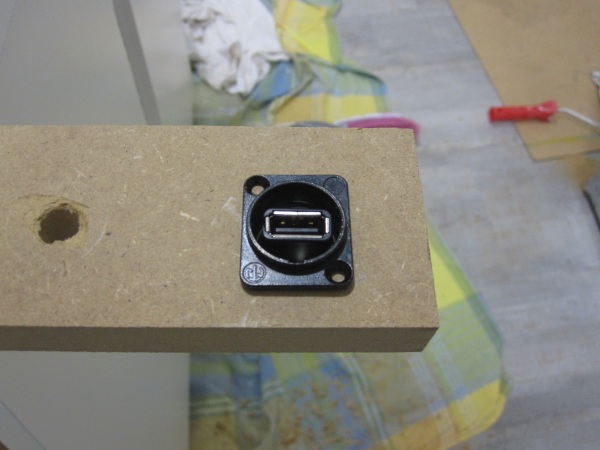
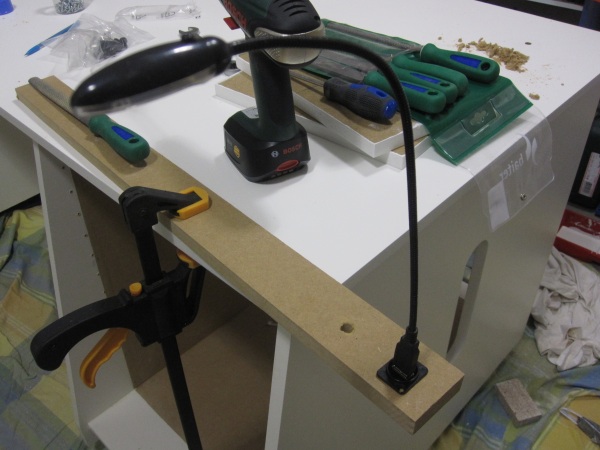
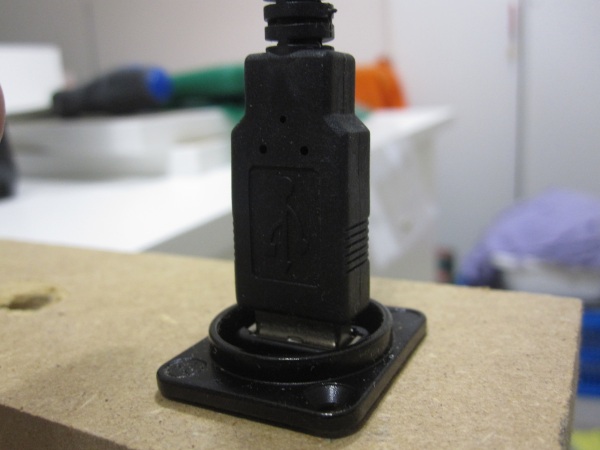
I was planning on actually mounting them in the wood, but because of the smaller drill I was able to clamp them in the wood which is strong enough to support the goose neck lights.
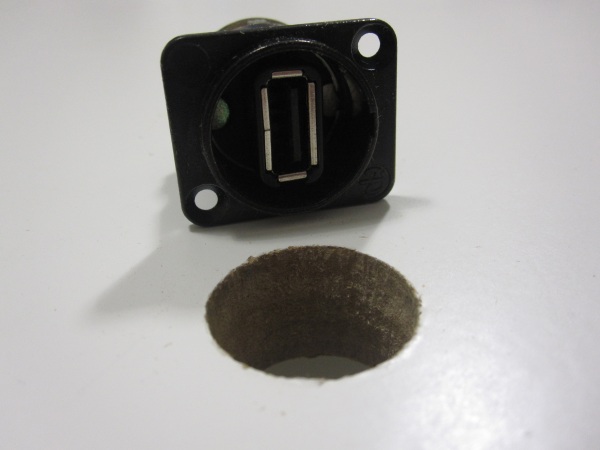
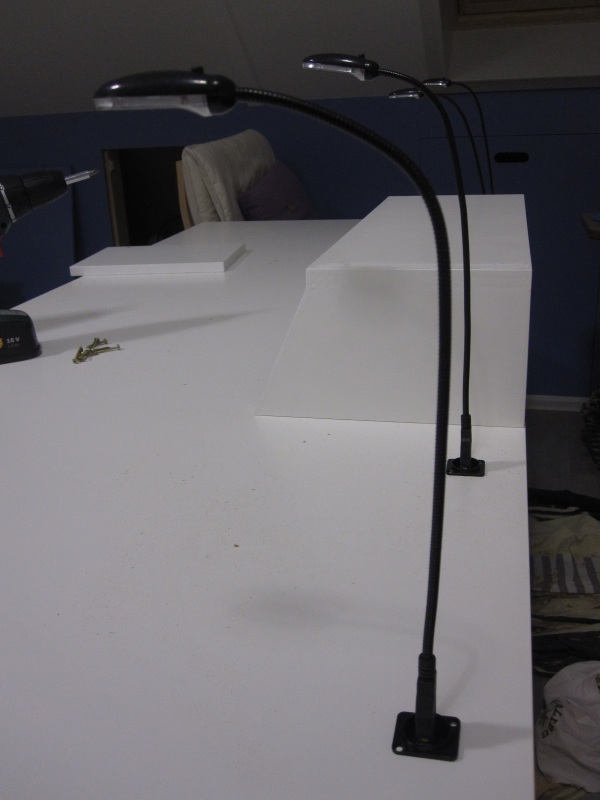
I’m done with the wood construction. Remaining is still a lot of painting. When that is done I can start with the final assembling.
Trackback from your site.