Studio Console Part 16
I’ve had a great weekend in terms of progress. I was able to finish the switch panel, clean up the mess I made in the last few months and started installing the remaining hardware and software on the computer. Go check out the pictures in part 16 of my almost finished studio desk.
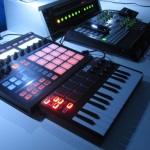
I finished the main power cable for the low voltage lighting.
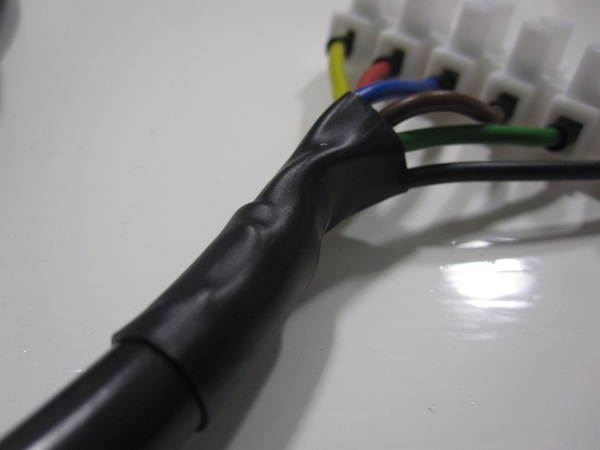
Time for soldering and wiring everything together.
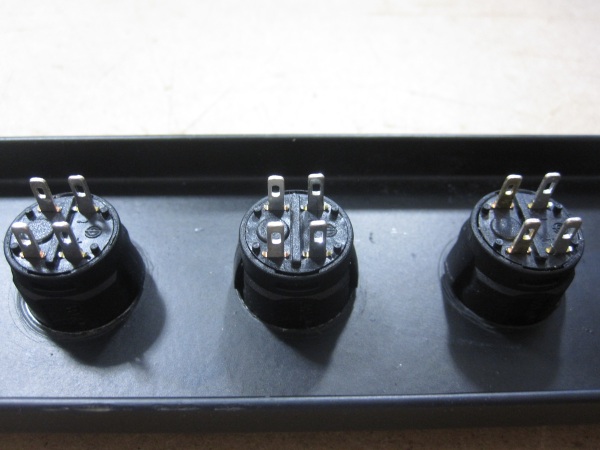
The LED lights in the switches work on 3 volt. The computer PSU gives 3.3 which after a long test run with a switch appeared to be to much. So I needed to put resistors in front of them.
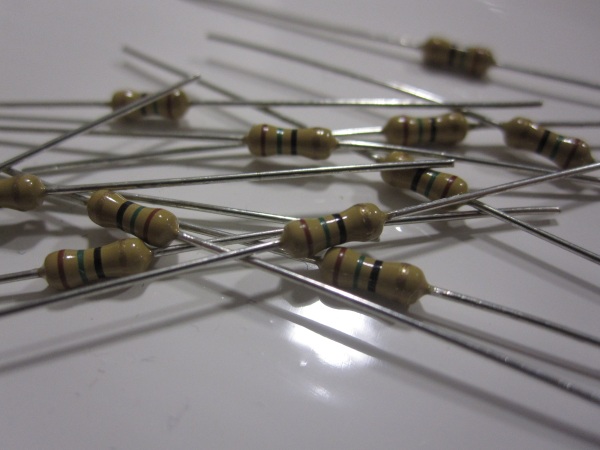
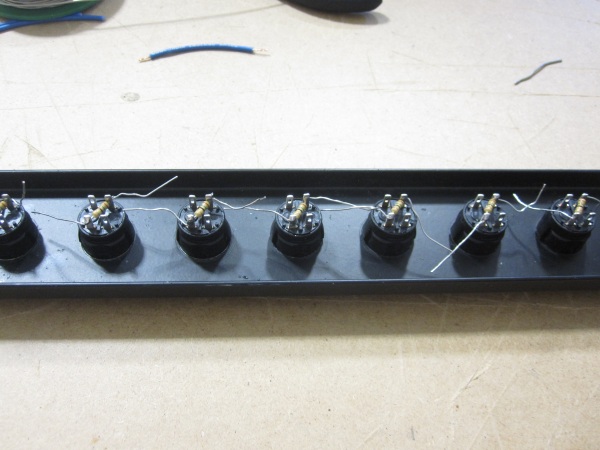
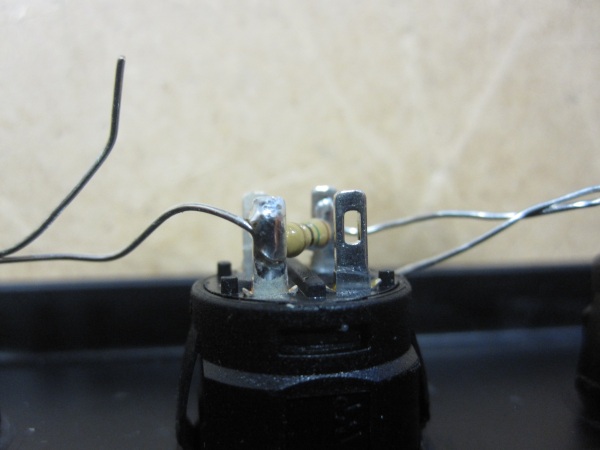
Time for wiring the power to the LEDs.
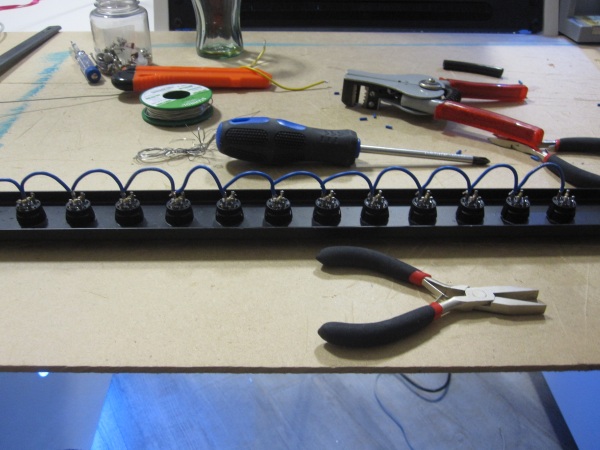
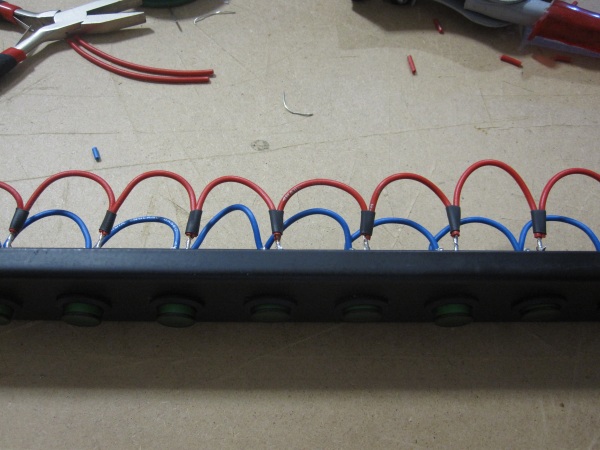
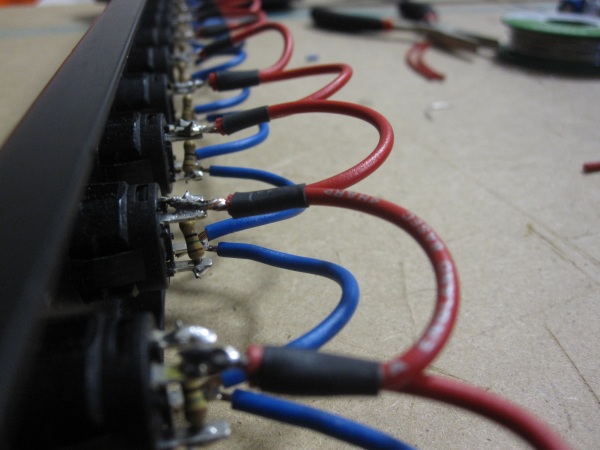
After a lot of wiring it was time for a test run, with at least the LEDs of the switches working.
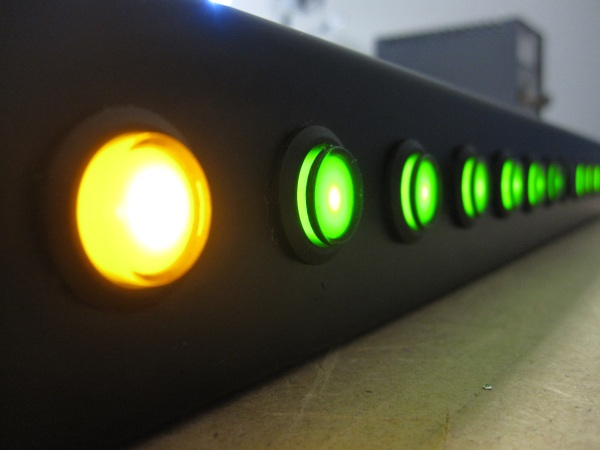
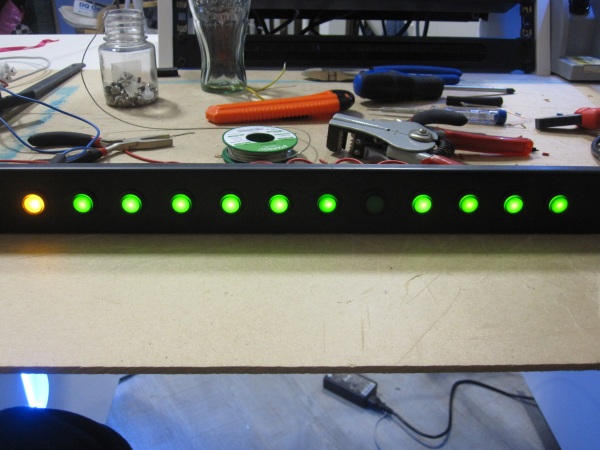
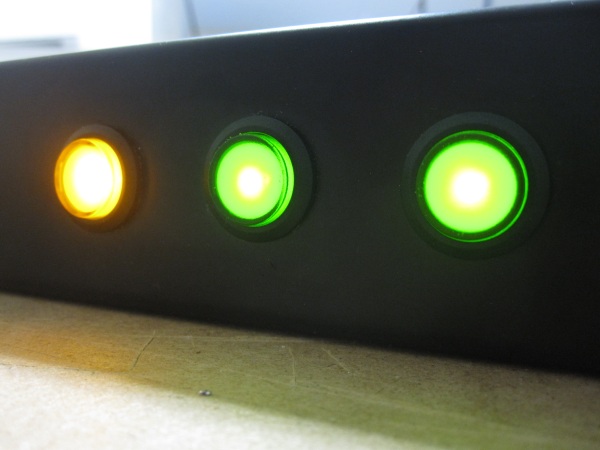
Unfortunate one switch’s LED appeared to be dead on arrival. Not that those switches are expensive, but it’s gonna take a lot of time replacing one with all the wires connected at the back of the panel.
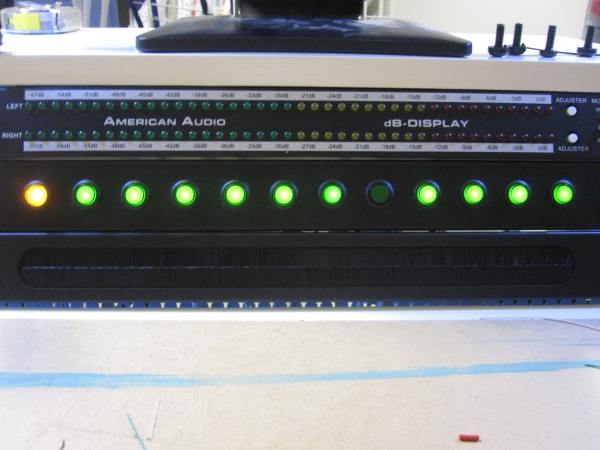
After connecting the goose neck LED lights it was time for another test. A beautiful white light hit the surface of my desk for the first time.
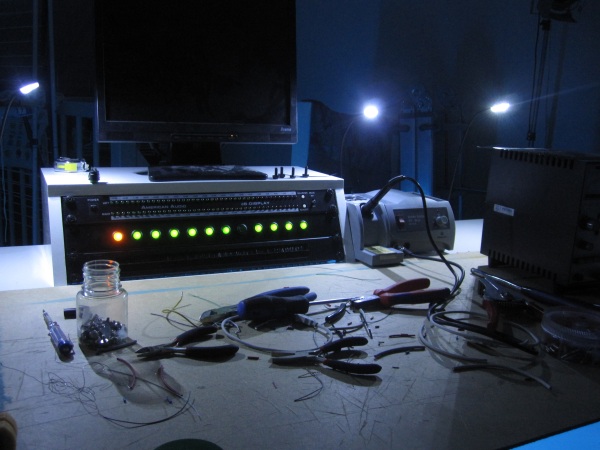
Hooked up the dB meter.
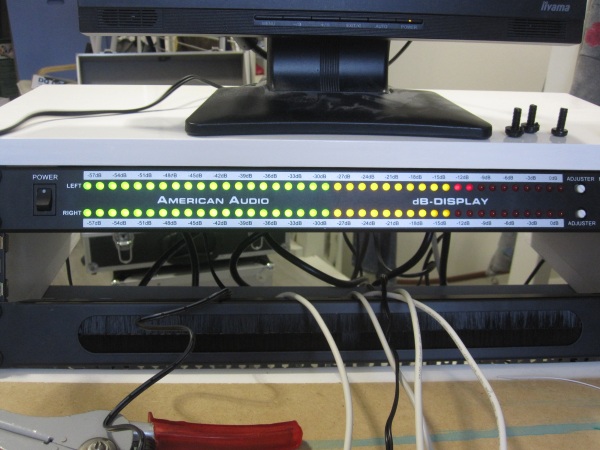
And while I was working on the final wires for the CCFL lighting in the 19 inch racks, things started to become chaotic in a great Saturday afternoon hobby kind of way.
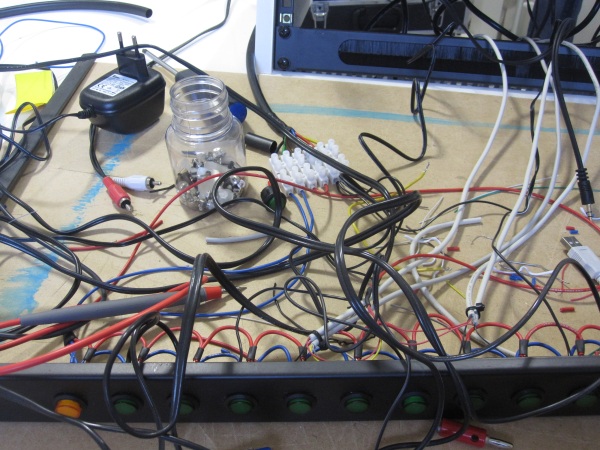
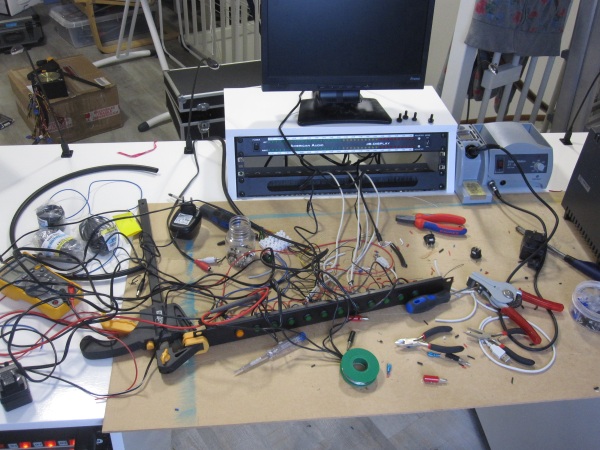
Time for final mounting the panel and cleanup.
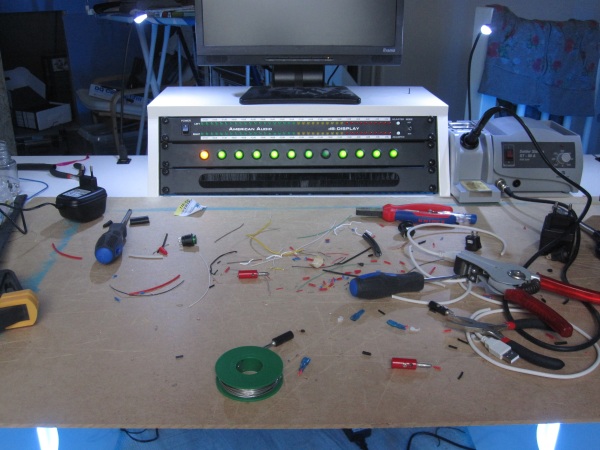
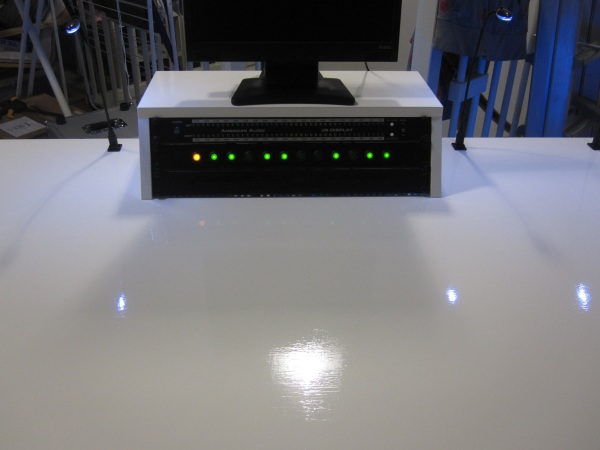
I brought in my MOTU sound device and hooked it up to the computer.
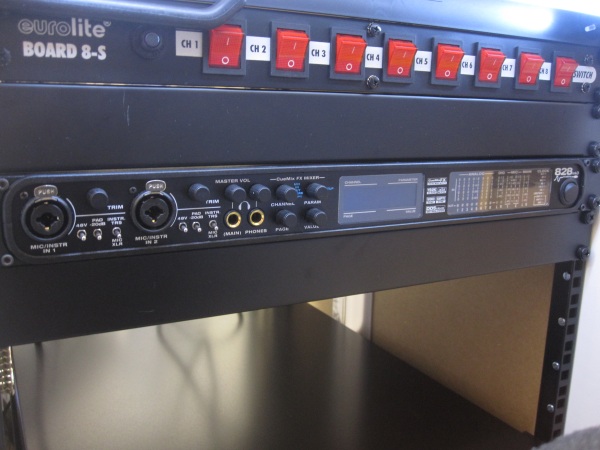
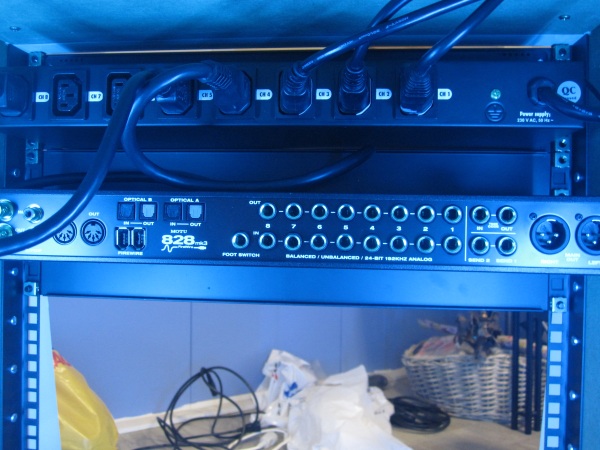
Slowly I’ve started to drag everything from my old temporary desk to my new studio desk.
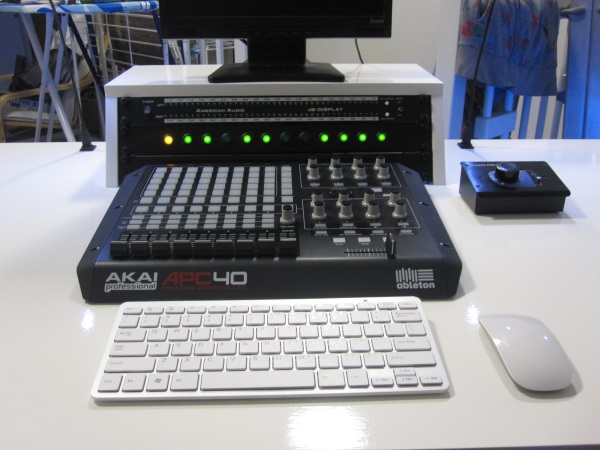
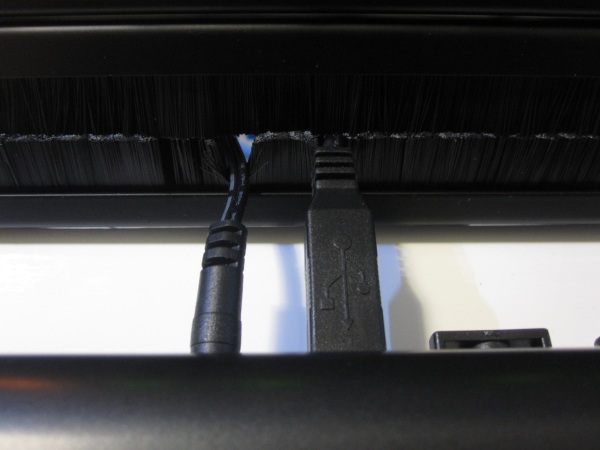
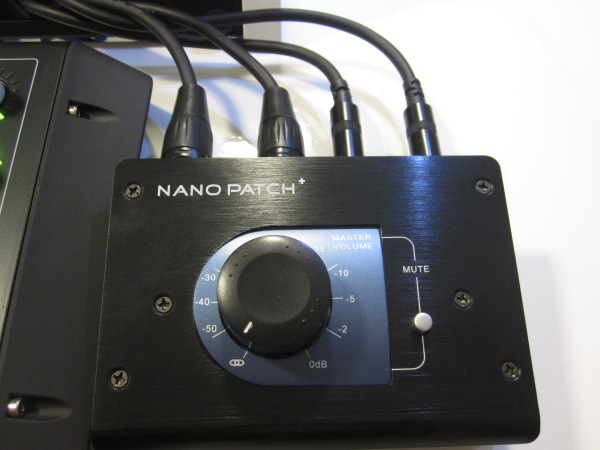
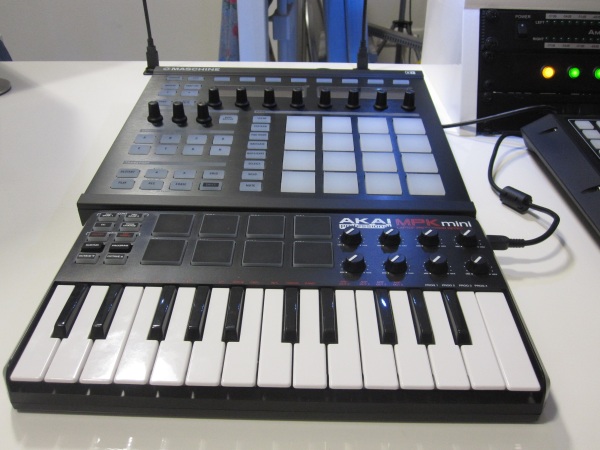
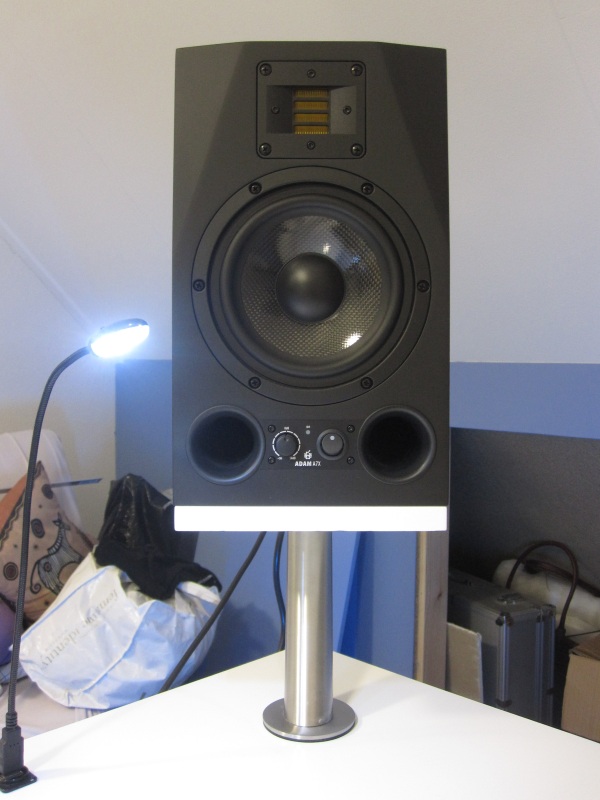
A holiday gift for myself, with some smart buying you can save a lot of money on these kind of things.
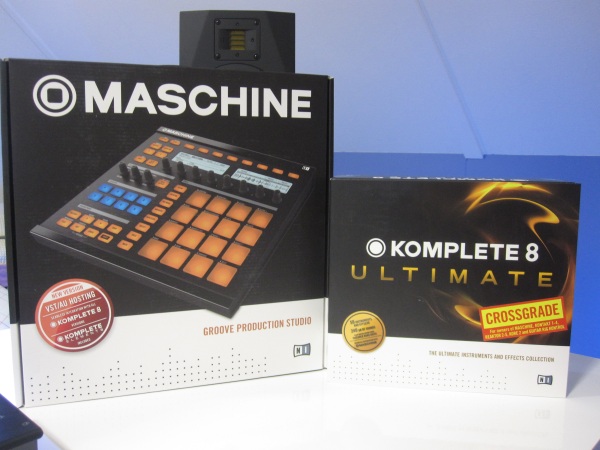
And finally, after hours of installing, things started to work. Music came out of the speakers, lights started to light up and buttons started to tweak parameters.
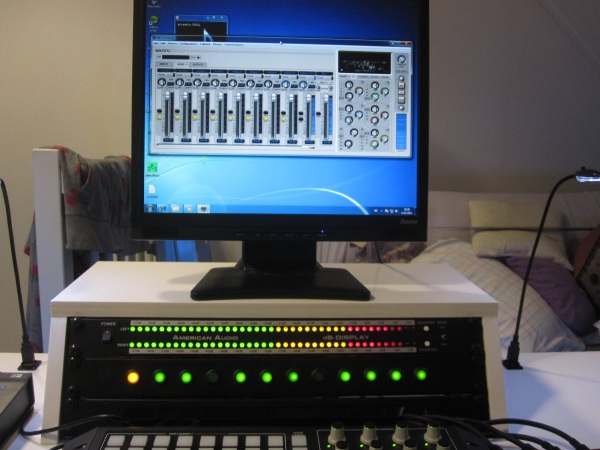
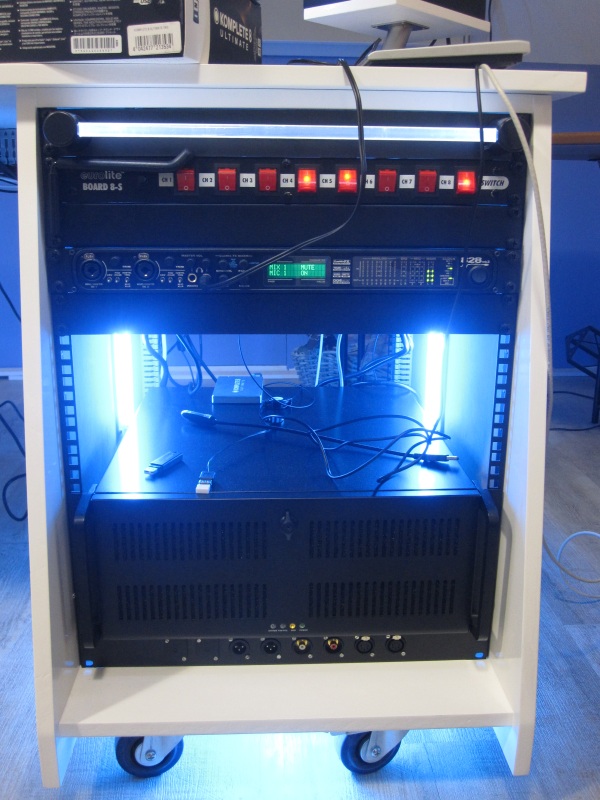
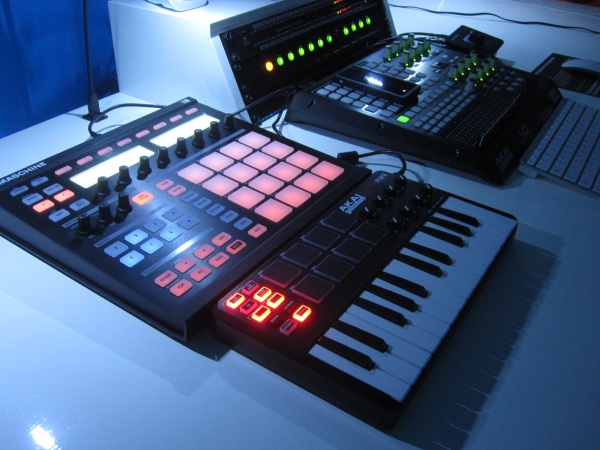
So whats left… well the entire audio cabling to start with. The main audio cabling is done, but all the custom cables to and from the patch panel are still on the to-do list. I need to do some cable management, and for the mean time I need to give my DJ hardware also some space.
People have asked me a number of times for an overall picture. I will post one when I’m more close to the final result, till then it will remain a surprise.
Trackback from your site.